|
|
|
|
Click on any photo to enlarge, then use your "Back" button to get back to this page Restoration of the main body required patching the sheet metal and rebuilding the wood frame. The body was made primarily from three pieces of sheet metal attached to the wood frame. Many of the original sheet metal joints were drive type slip joints. These slip joints were not attached to the wood, so I replaced them with flanges and screws into the wood frame. Originally, the frame was probably built first and the sheet metal fitted to it. However, for a restoration I had to build the frame to fit the sheet metal. This was not easy and required much test fitting. It seemed like the sheet metal never fit exactly the same from one test fit to the next. My plan was to save as much of the original wood as possible. After inspection, I realized that the only pieces I could save were the main tail piece and the sills (see tear down). The original design was so weak that I felt compelled to make the rebuild stronger. A friend that builds sail boats put me on to a really nice epoxy system from West Marine. This stuff is really nice, especially if your carpentry skills are not the greatest.
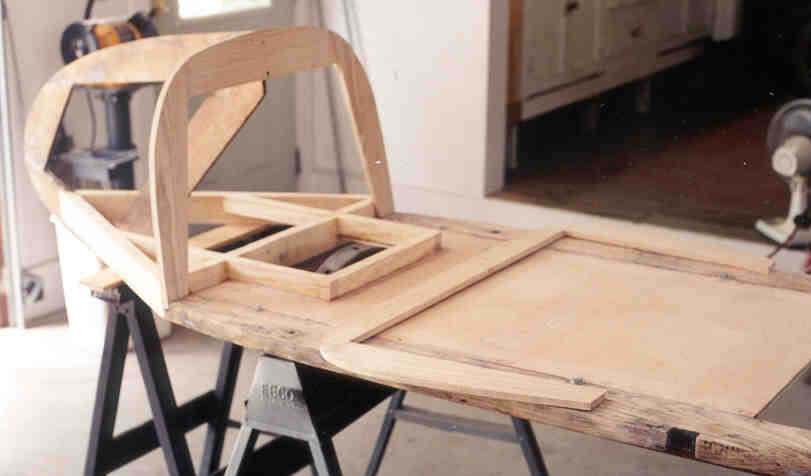
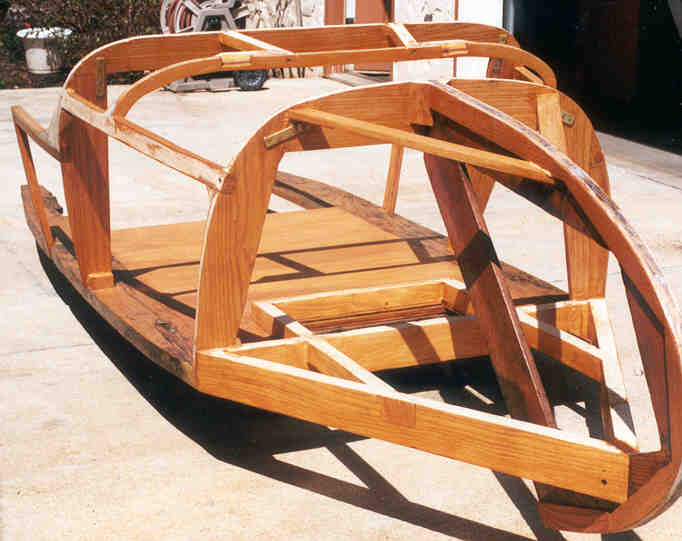
I decided to reconstruct the body from the tail forward. This shows the sills after repair and cleanup and my reengineering of the tail. Now it is all braced and tied together.
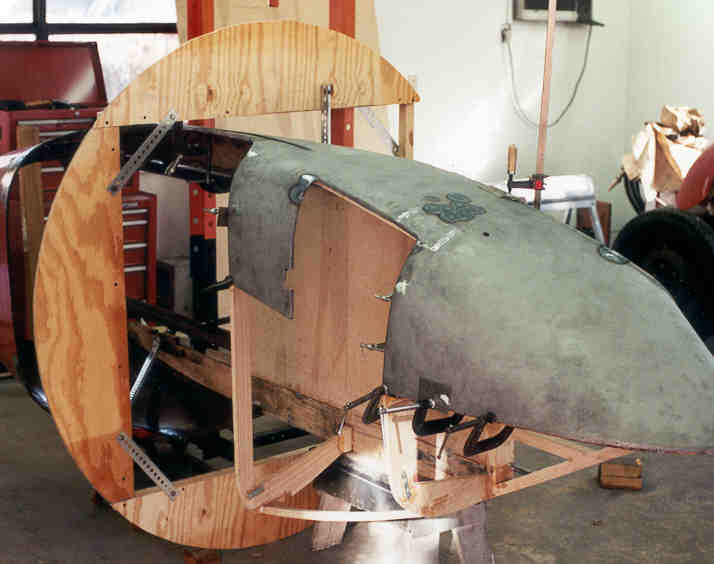
The sheet metal was off and on about 5 gazillion times as each new piece of wood was fitted.
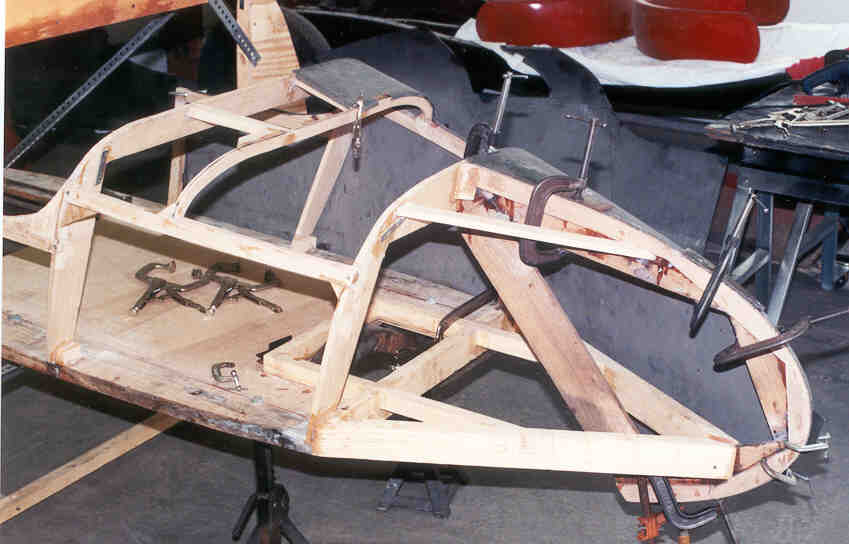
The curved side pieces are now epoxy laminates - much stronger than wood.
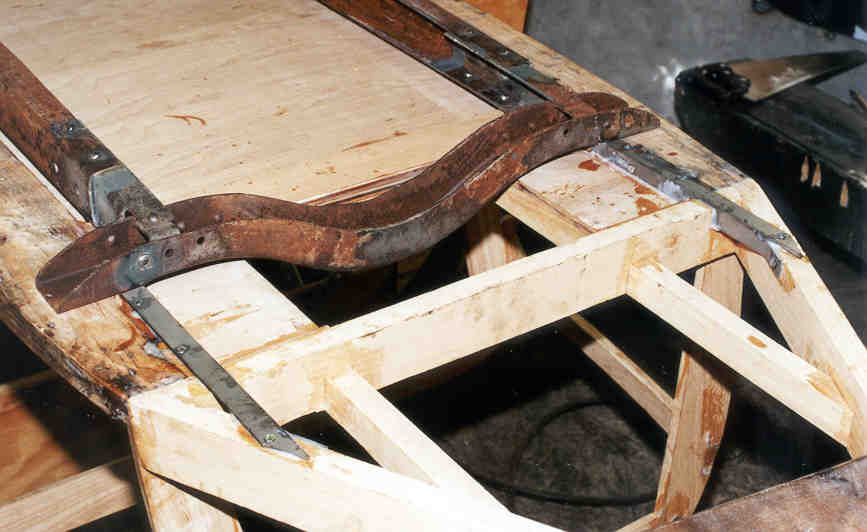
The "B" posts were reinforced with a gusseted 16 gauge bracket attached to the bottom of the sill.
The completed frame. Rock solid compared to the original.
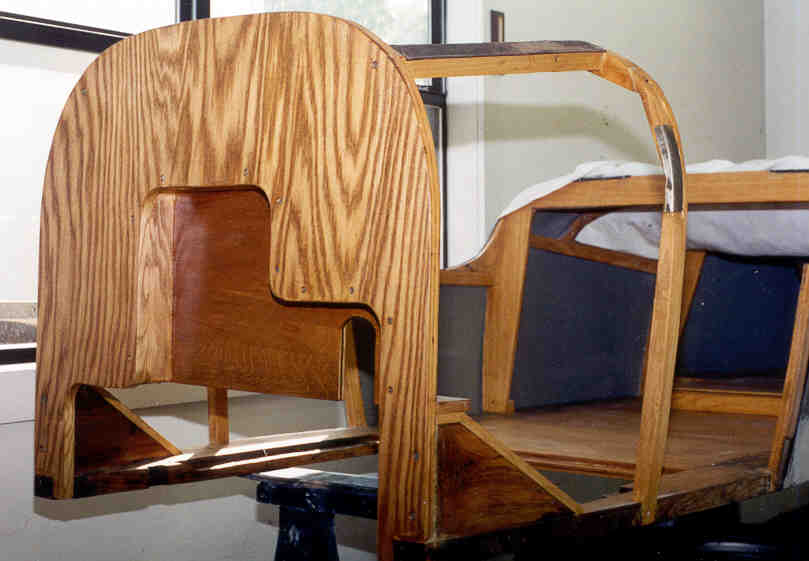
The firewall was made to provide clearance for the Rajo head and give a comfortable angle for the steering column. |