I wonder if there are ever any pleasant surprises during a
tear down. The process certainly revealed a lot about the ABC bodies and
the work that lay ahead.
Click on any photo to enlarge,
then use your "Back" button to get back to this page

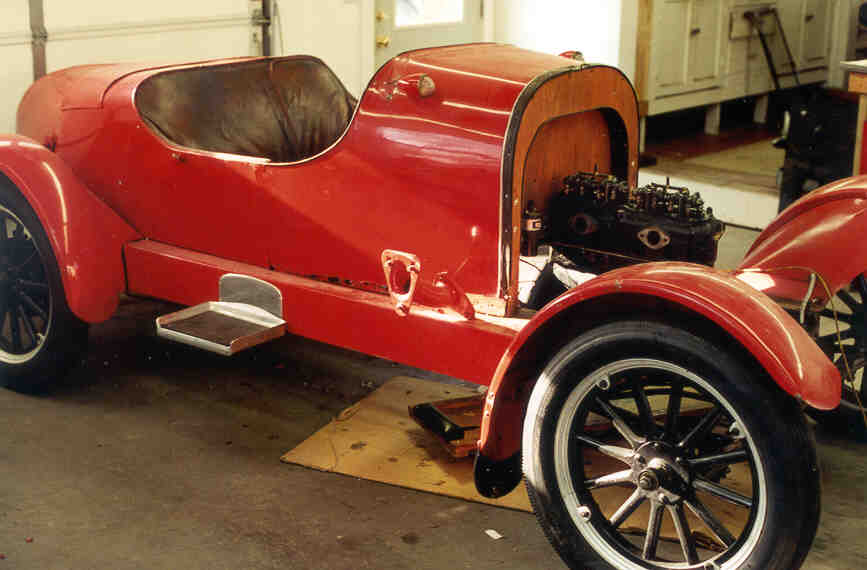
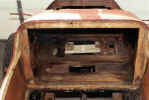
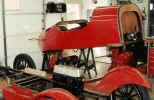
The start of the tear down. First bad news was after
removal of the "rust covers" at the lower cowl, I discovered why they
were there. Also, stress cracks around the windshield mounting holes.
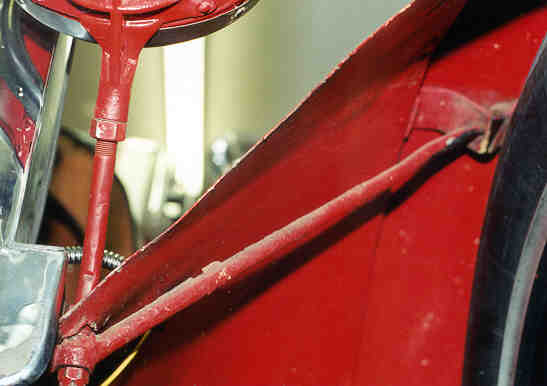
These two photos show details of the front fender
mounting. The catalog describes motorcycle fenders for this model and full
fenders for the roadster and sport models. However, this one has full
fenders.
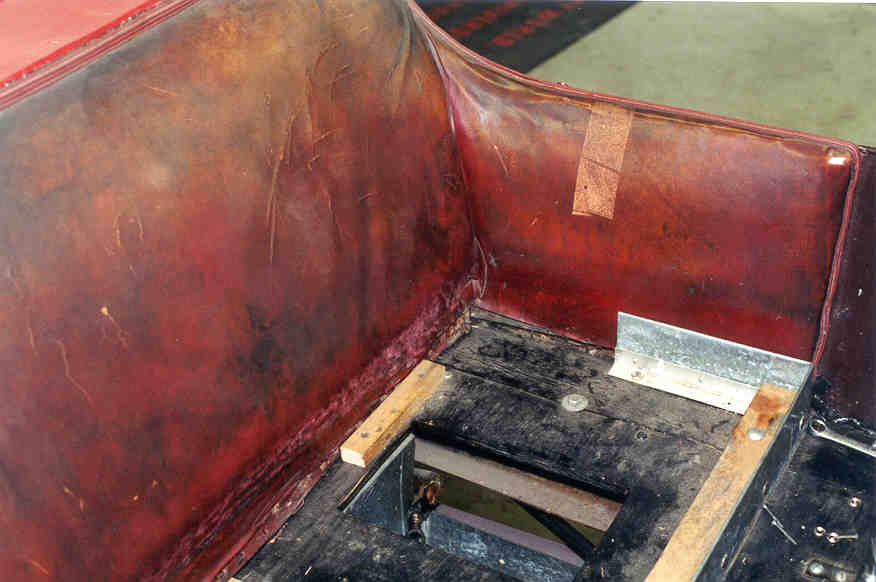
Back and side padding was tacked directly to the wood
frame. A second covering was under this one. As shown in the
catalog, the original covering was
pleated with pleats 5 or 6 inches wide.
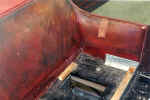
A standard round Ford gas tank sits behind the seat. It
is filled by opening the trunk lid.
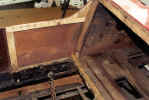
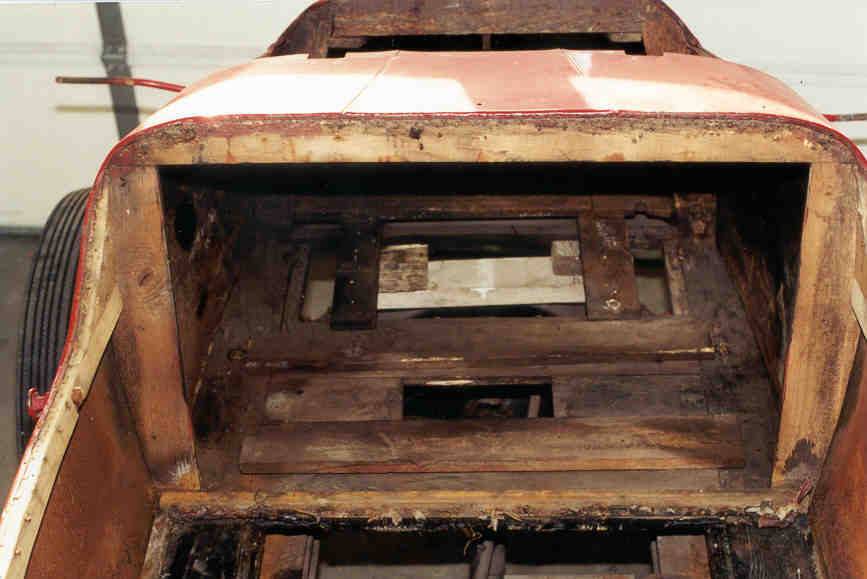
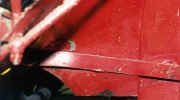
Side
rail arrangement is very weak. The "B Post" had been nailed and renailed until the
wood was completely chewed up. Note holes in rear deck and hinge for top that once
existed.
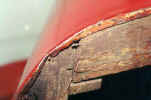
The
catalog and ads claim every joint was glued and screwed. I found no
evidence of either, but there were numerous cleats like these, most were broken
from fatigue. The sheet metal was all that held most of the wood frame
together.
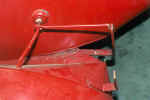 This
photo shows details of the rear fender attachment. A rod with turnbuckle
passed all the way through the tail, but was not tied securely into the wood
frame. Stress cracks were found around the holes in the body.
Another support bracket attaches to the front of the fender and the bottom of
the sill.
This
photo shows details of the rear fender attachment. A rod with turnbuckle
passed all the way through the tail, but was not tied securely into the wood
frame. Stress cracks were found around the holes in the body.
Another support bracket attaches to the front of the fender and the bottom of
the sill.
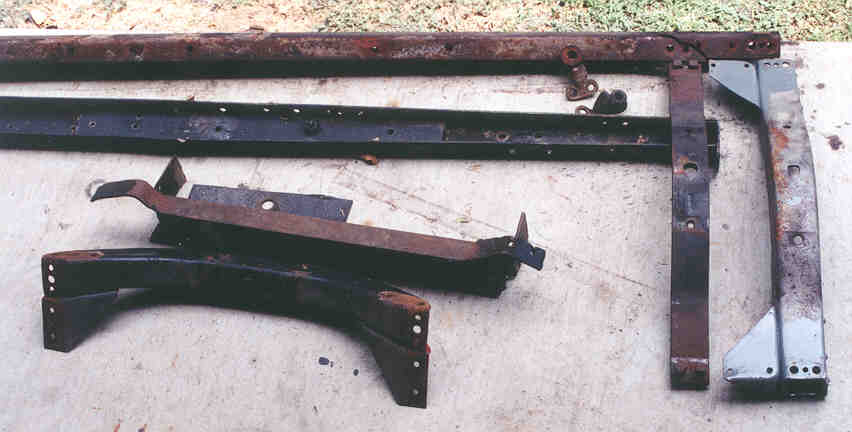
 The
body comes off. Note (here and next photo) the extra cross members in the
frame. There was also quarter inch plates welded to the inside of the
frame rails. These modifications were probably made when the car was used
as a department store delivery truck.
The
body comes off. Note (here and next photo) the extra cross members in the
frame. There was also quarter inch plates welded to the inside of the
frame rails. These modifications were probably made when the car was used
as a department store delivery truck.
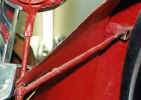
 The
frame was obviously the original one, beefed up for duty as a delivery truck.
The title lists the car as a 1914, but the frame was of the type not used after
early 1913. It was later lowered using the
additional cross member (see catalog) to relocate the spring in front of the
rear axle. This arrangement put stress on the flange of the frame, causing
the stress crack. I'll use a different frame and spring relocation method.
The
frame was obviously the original one, beefed up for duty as a delivery truck.
The title lists the car as a 1914, but the frame was of the type not used after
early 1913. It was later lowered using the
additional cross member (see catalog) to relocate the spring in front of the
rear axle. This arrangement put stress on the flange of the frame, causing
the stress crack. I'll use a different frame and spring relocation method.
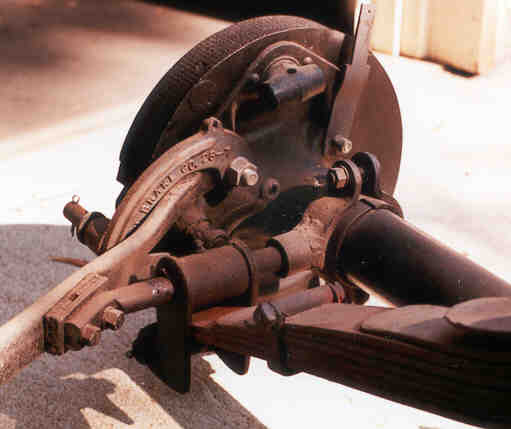
 This
photo shows details of the rear lowering brackets. The spring is now in front of and below the
rear axle (note original spring perch).
This
photo shows details of the rear lowering brackets. The spring is now in front of and below the
rear axle (note original spring perch).
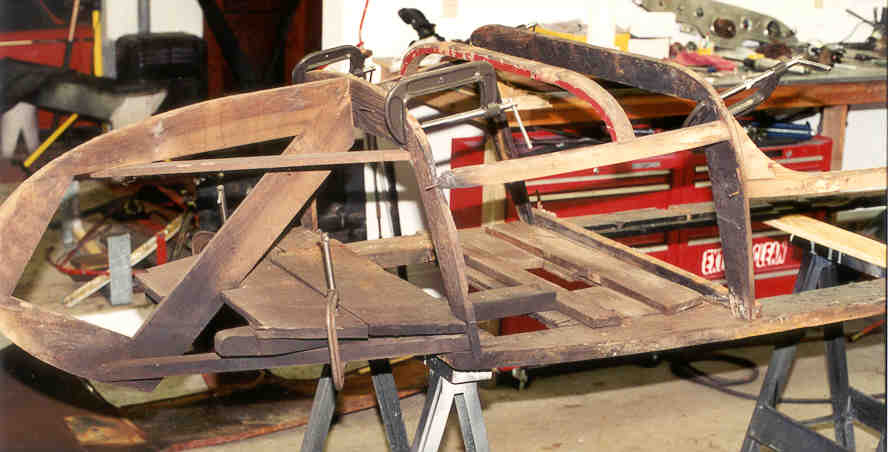
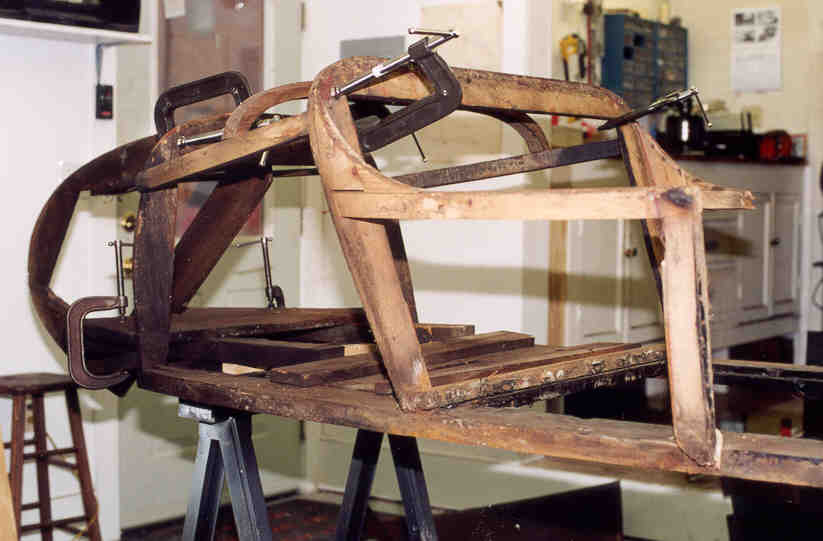
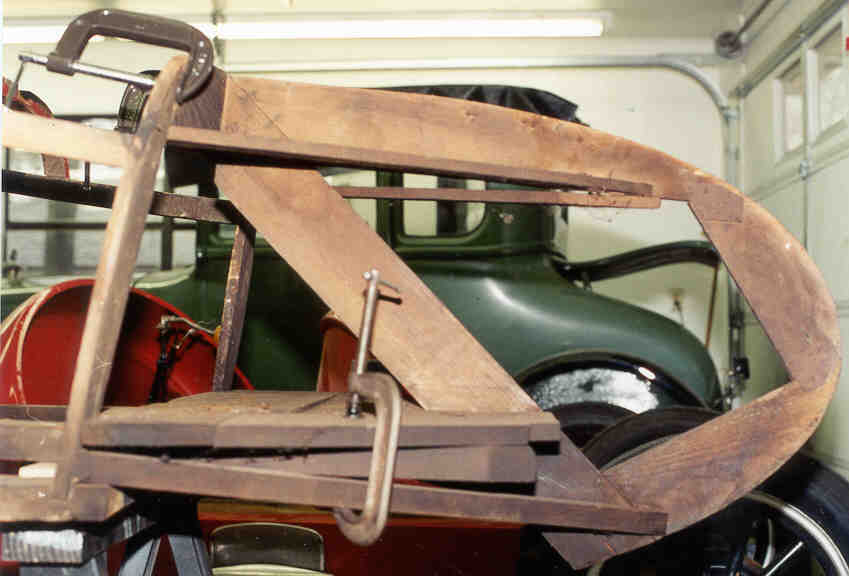
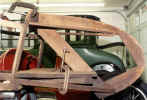
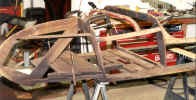 These
three photos show the bare wood after the sheet metal was removed. Clamps
were required to hold it together. The wood was not rotted, but it was chewed up
due to numerous nail holes. Also, welding of stress cracks at the rear
corner of the trunk opening severely burned the wood. I wanted to reuse as
much of the wood as possible.
These
three photos show the bare wood after the sheet metal was removed. Clamps
were required to hold it together. The wood was not rotted, but it was chewed up
due to numerous nail holes. Also, welding of stress cracks at the rear
corner of the trunk opening severely burned the wood. I wanted to reuse as
much of the wood as possible.
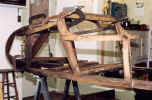
The
tail portion of the frame hangs off the ends of the sills. The main
support is by the two 2x4s which are attached to the floorboard.
 The
2x4s and triangular supports are clamped together here, but were not
originally. This rear section is very weak. Since I wanted the frame
to stay together, I reengineered this tail section for greater strength.
The
2x4s and triangular supports are clamped together here, but were not
originally. This rear section is very weak. Since I wanted the frame
to stay together, I reengineered this tail section for greater strength.
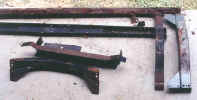
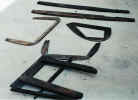 What
have I done? Here are the pieces of the wood frame, except for the side
rails and a few other small pieces. The "D" shaped tail and the
main sills were the only ones I could salvage. The others were either
burned, chewed up from repeated nail repairs or part of the tail which was too
poorly constructed.
What
have I done? Here are the pieces of the wood frame, except for the side
rails and a few other small pieces. The "D" shaped tail and the
main sills were the only ones I could salvage. The others were either
burned, chewed up from repeated nail repairs or part of the tail which was too
poorly constructed.