|
|
|
by Fred Houston photos by Josh Calkins (grandson and father of my great grandson Ethan)
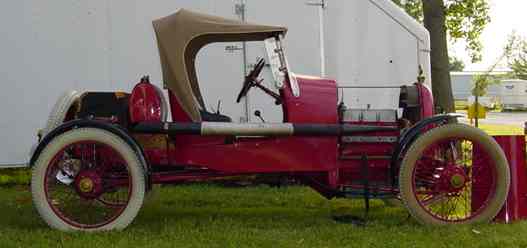
The Ames Lotus Speedster body was first introduced in about 1916, so I thought it would be a good candidate to reproduce from photos and ads for my 1920 Fronty. The top was an available accessory. The general shape of the Ames Lotus top was considered as well as other tops available in the era and arrived on the design shown here. The Morton and Brett windshield also played a role in the selection.
The Framework
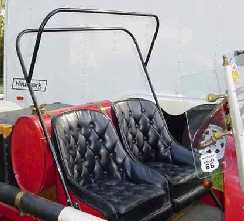
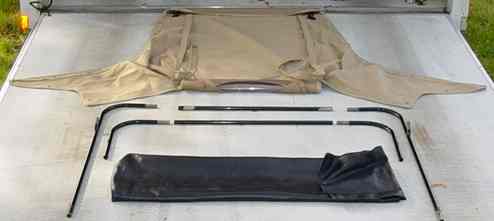
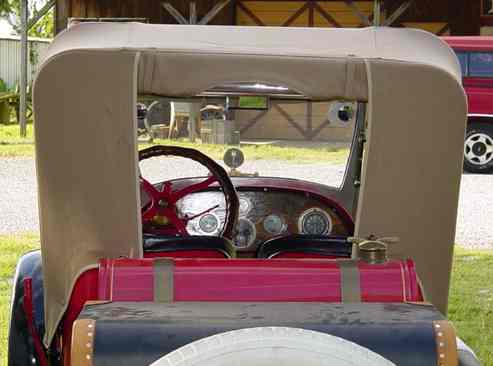
The framework is made of half-inch electrical conduit. The primary requirement was that the complete top, including frame, could be dismantled and placed in a bag on the floor in front of the seat. It takes about 5 minutes to install this top and side curtains. The bends were made with a common electrical conduit bender. The slip joints required steel tubing slightly smaller than the conduit so it would locktite into one side and slip fit into the other. Some fitting was required. The lathe or drill press can be used to file this tubing to fit. This same smaller tubing was also pushed inside the lower 15 inches of the main sidepieces to provide additional strength. The side sockets were fabricated from cast iron pipe tees cut off and brazed to steel plates and bolted to the seat with 4 stove bolts. All frame parts including the socket are bead blasted and powder coated glossy black. Another consideration is headroom or how high the passengers sit in the seat. When making the frame I brought Lavina to the shop put her in the seat and measured the height and told her a divorce was imminent cause she was too tall! After that my memory is blurred.
Another good option for a Speedster top frames are the street rod roadster frames available from Speedway Motors of Lincoln, NE. For and example look at Dan and Iva Harner’s 1913 Speedster.
The Top Cover and Rear Window
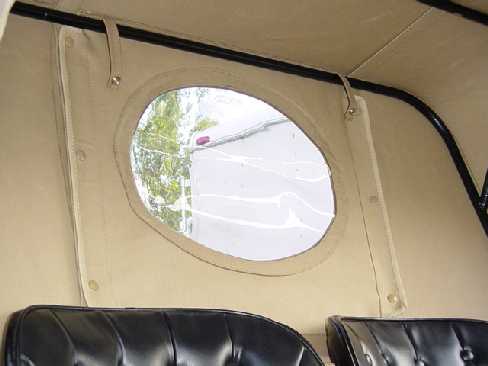
The cover material is probably the most expensive you can buy, the good news is that it doesn’t take very much and it’s well worth it. The material is called Sta-proof, tan on tan, which means it’s tan on both the inside and outside. It never stains. This top has been used thru several rainstorms, and as you can see it’s none the worse for wear. It has a roll-up rear curtain with a classic oval glass design. . The top is attached to a front wood bow which thumbscrews rigidly to the round knobs on top the Morton and Brett windshield. Much of the strength of this design is in the top cover primarily the main straps. These straps are stapled solidly to the front bow and attach with a common sense fastener to the top to the seat back. The top cover also attaches in a similar manner with several fasteners to the top edge of the seat.
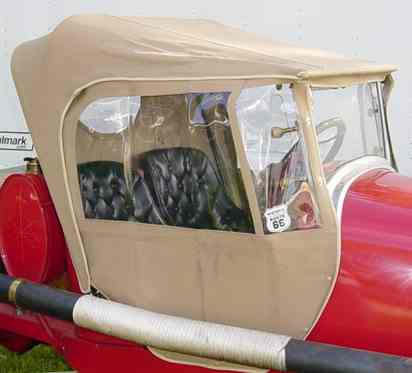
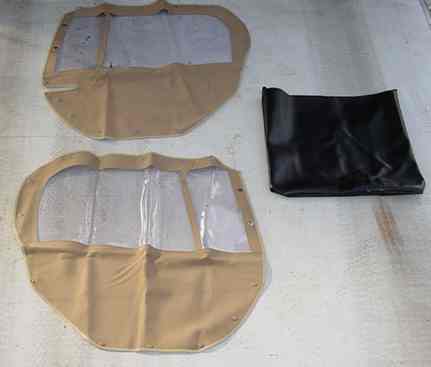
Side Curtains
The side curtains are made of the same material as the top with large windows for good visibility. These side curtains are folded and carried in a small bag in the trunk. Notice they snap on all the way around to the inside of the top and to the body on the bottom. I used snaps but if you prefer for authenticity, common sense fasteners could be used. Notice how well the curtains and top fit around the windshield. We were in a wind and rainstorm with 40 mph winds and stayed perfectly dry inside! We were pleasantly surprised.
|